Constant Velocity Glider on Air Track, 1C10.27
Topic and Concept:
Motion in One Dimension, 1C10. Velocity
pira200 Listed
Location:
- Floor Item: ME, South Wall on shelf brackets
Abstract:
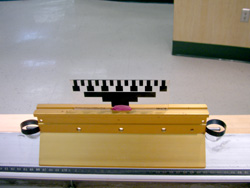
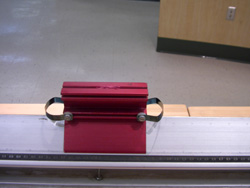
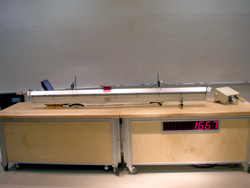
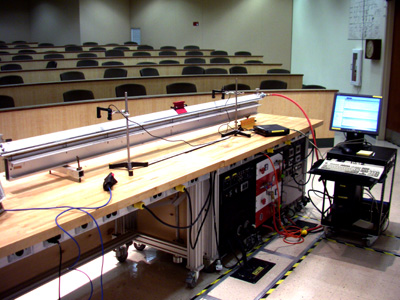
A glider on a level air track is pushed, giving it a velocity which remains roughly constant on the low-friction air track. With a known displacement and a stopwatch, one can then calculate the velocity.
Equipment |
Location |
ID Number |
|
|
|
2.25m Air Track |
ME, South Wall on shelf brackets |
|
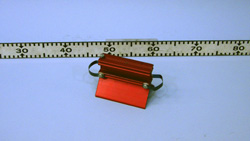
Air Gliders |
ME, Bay A4, Shelf #2 |
|
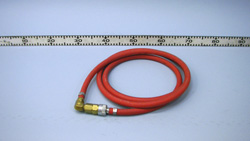
Air Hose(s) |
ME, South Wall on shelf brackets |
|
Located within rooms 2103, 2241, and 2223 |
4A.EQ100 |
|
ME, Bay A5, Shelf #1 |
1A.EQ108 |
|
Floor Item: ME, South Wall |
1A.EQ.100 |
|
Table Stand w/Clamps |
Epument Tack Cabinets |
|
DMM or Multipurpose Meter (Optional) |
WS, Bay B2, Shelf 2 |
3A.EQ.100 |
Important Setup Notes:
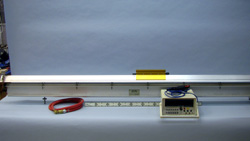
This demonstration requires a supply of compressed air at HVHP.
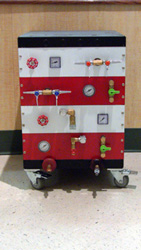
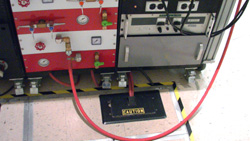
A Red & White Gas Cart will need to be installed under the lecture tables and the air hose will need to be connected to the supply line within the stage floor.
An Audio/Video Cart will need to be installed under the lecture tables and the AV and AC cords will need to be connected to the supply line within the stage floor.
Setup and Procedure:
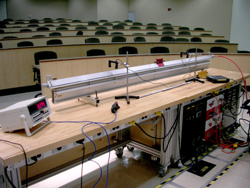
- Place air track on lecture bench.
- Level the track using the set screws on each leg.
- Connect the track to the air supply using the air hose.
- Place air glider on track.
- Let the air flow into the track by opening the supply valve.
- Give the air glider a push to give it an initial velocity.
Cautions, Warnings, or Safety Concerns:
- N/A
Discussion:
The kinematic version of Newton's first law says that a body in motion tends to stay in motion moving in a straight line unless acted upon by a force. This is exactly what is happening here. The glider is given an initial velocity being accelerated by the lecturer's hand. Upon release, the glider maintains its final velocity. The air track provides a low-friction surface for the glider to move on so not much energy can be lost as heat. Thus the speed will remain roughly constant. The direction will change, however. The velocity will switch between v0 and -v0 each time it hits a bumper in an elastic collision whereby the direction of its momentum is reversed.
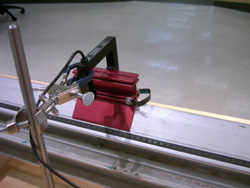
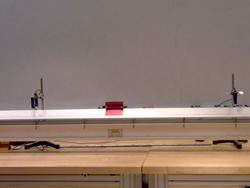
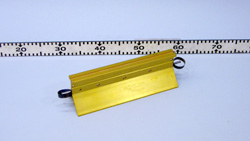
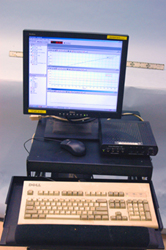
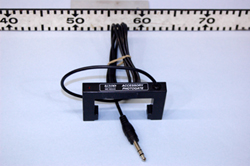
In this case, we're using the glider as the vine for the photo-gates. By doing this we do not increase the mass of the glider by adding a vine. If we did, this would increase the overall friction and cause the gilder's energy to damp out faster and the velocity wouldn't appear constant at all. The red gilder is 10.1 cm long and the photo-gates are equally spaced along the track such that, the distance between the two gates is the same as the distance from one gate to the bumper and back to that gate(ie, 1/4 -gate- 1/2 -gate- 1/4).
|
|
|
|
|
|
|
|
|
|
|
|
|
|
Videos:
References:
- N/A
