Quadcopter
Meeting times will be on Wednesdays from 6:30 pm to 8:30 pm and on Saturdays from 11 am to 1 pm. Both meetings will be held in the physics garage room.
Most Recent Announcement
http://code.google.com/p/javadrone/ is a java api for ar drone from codeminders. It was used in UM EEG/BCI experiments. - Duncan
Hello all,
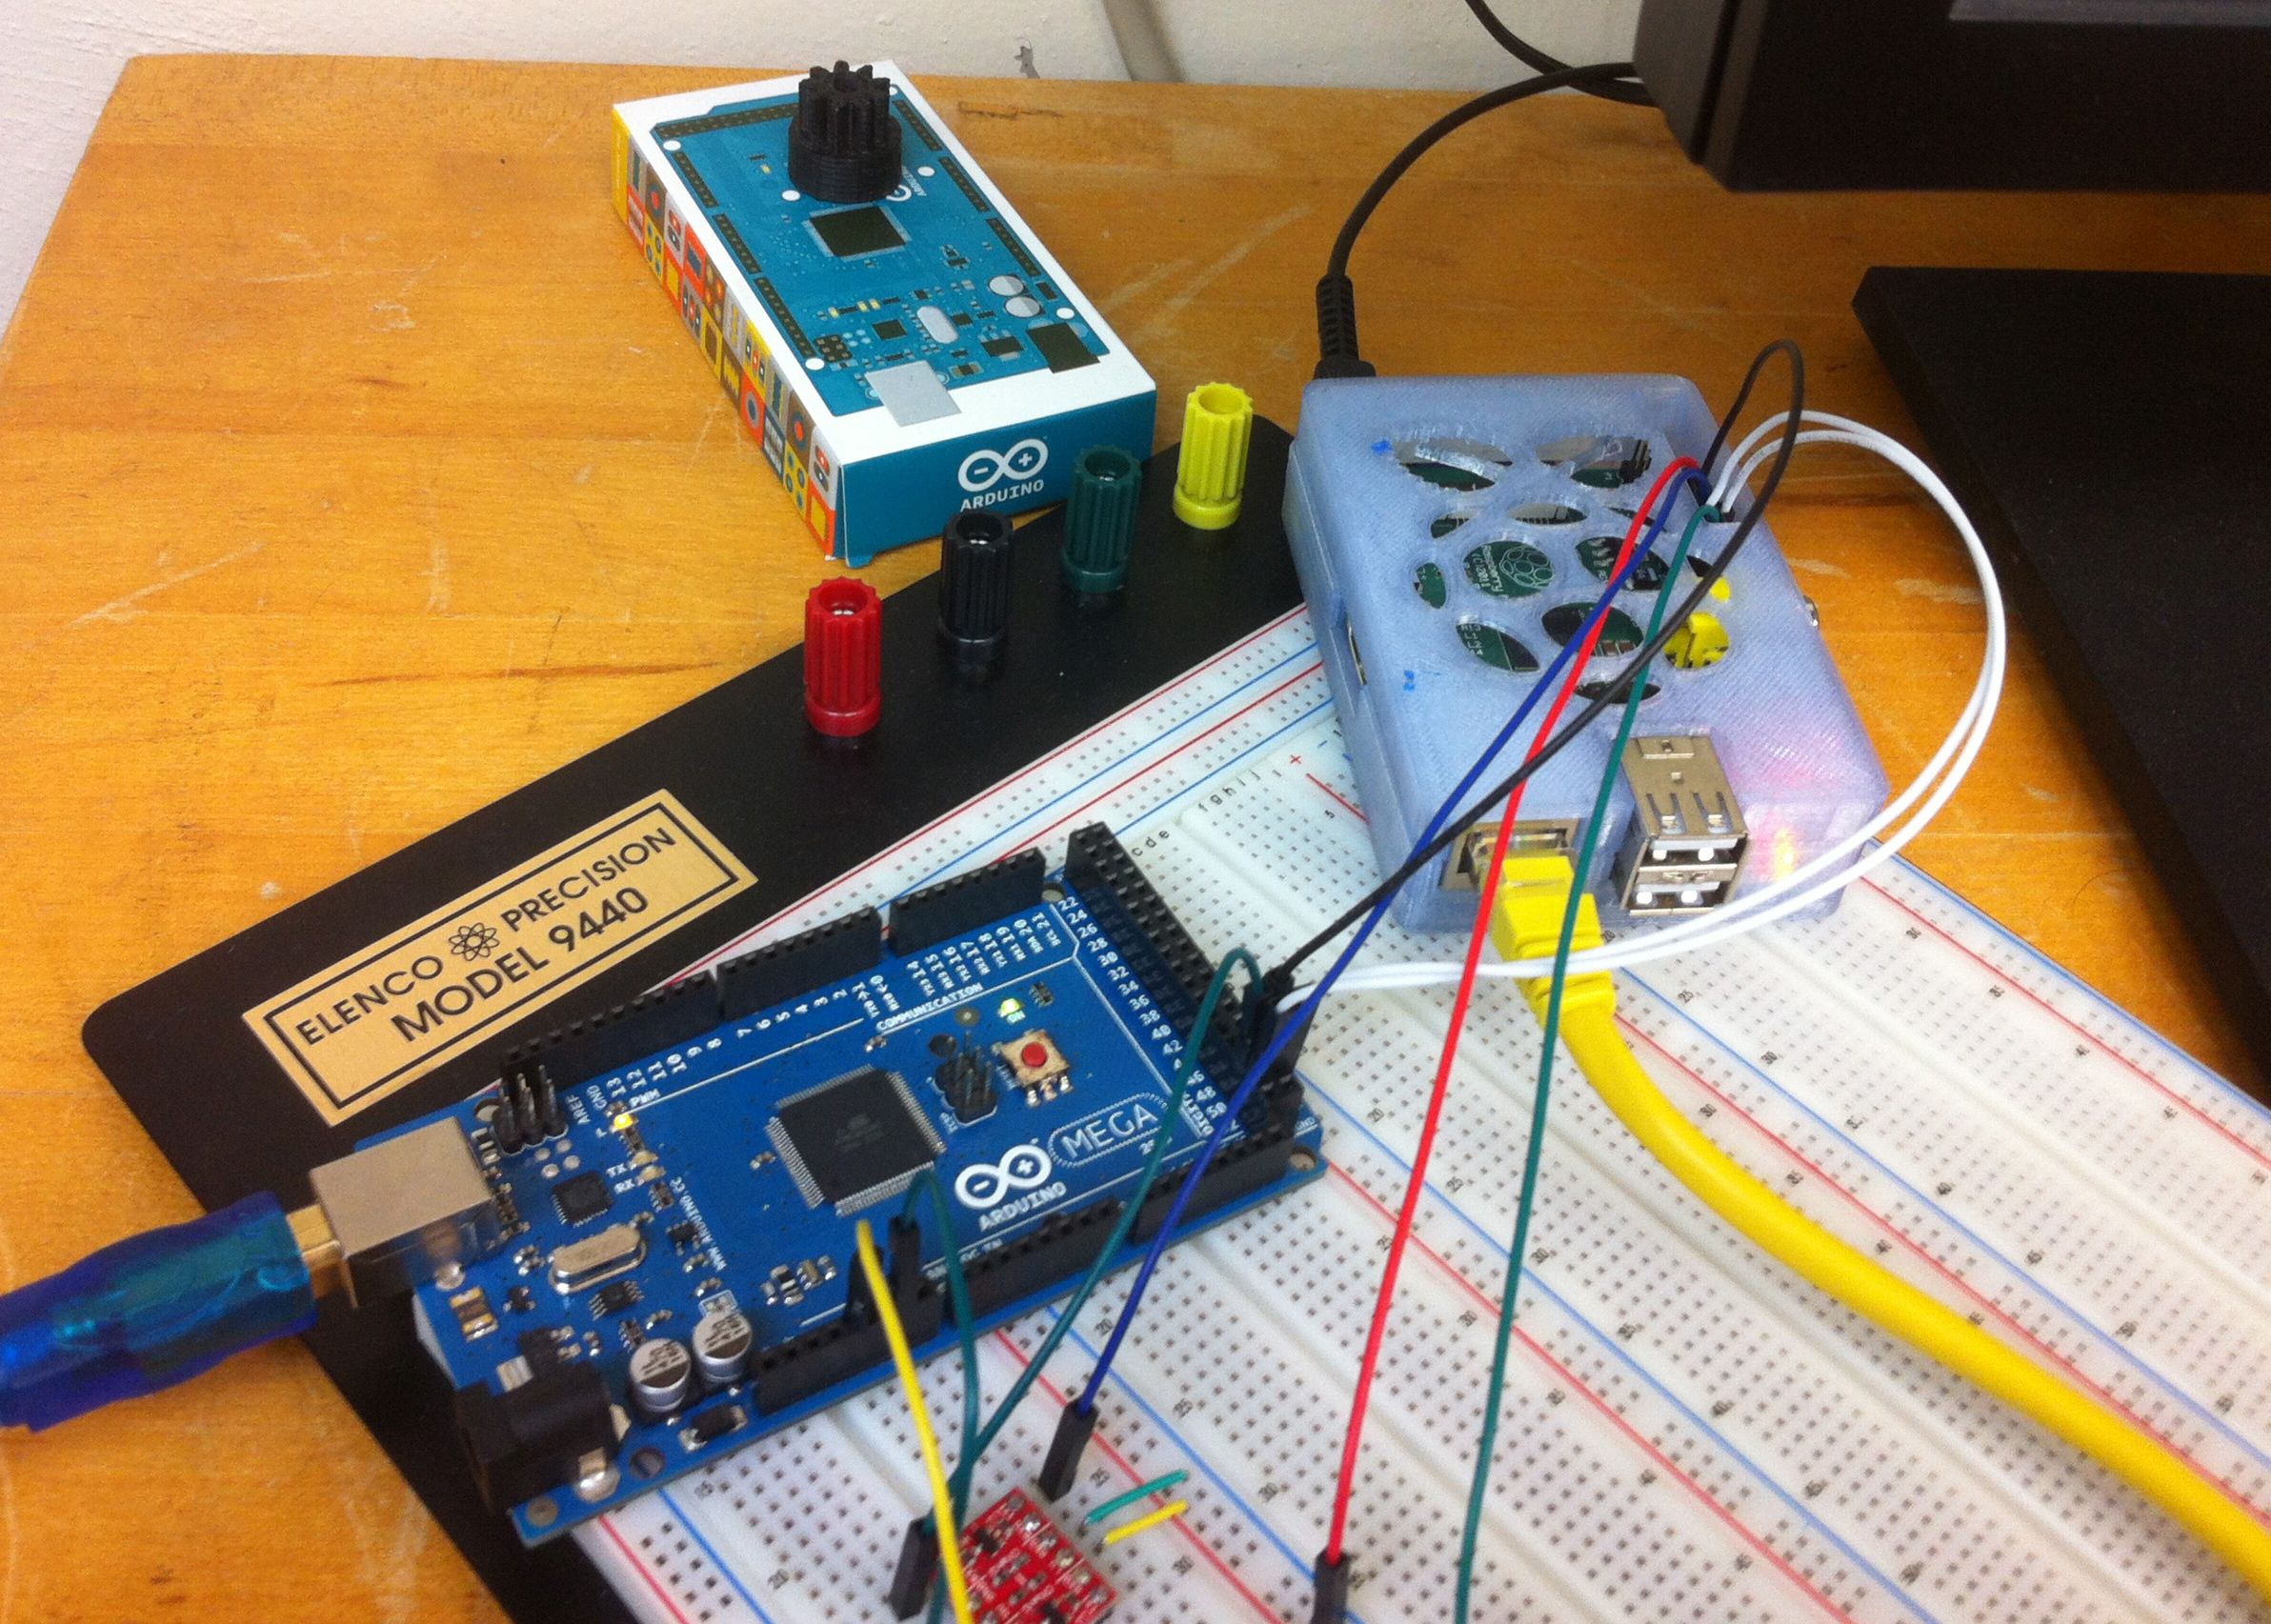
Matt and I worked on Saturday and finally got the Raspberry Pi and Arduino to work on the PCs in the garage. Since we now have the basic stuff running we can start splitting into groups to finish certain tasks to finish stage 1. Stage 1 will just be making the quadcopter fly at a certain altitude and stay there for a while without moving out of position to much. The task that everyone should do (or at least agree on) are: 1- Designing a programming interface. 2- Downloading mercurial or a software sharing/version checker so we can share our code and do team work effectively. 3- Updating the wiki when doing something and making a document on what you did and why (very important so someone can take over if you are busy and have other things to do).
Now here are the tasks for Stage 1 that you can choose from and do in smaller groups or by yourself: 1-Learning how to read the gyroscope, accelerometer and controlling the motor speed and maintain stability through programming the Arduino . Probably will be very time consuming task. 2-Programming the communication between the Raspberry pi and Arduino. 3-Designing and creating a power supply circuit with a battery monitor for both the pi and the Arduino. 4-Creating the plastic surface that the circuit will be on using the 3D printer. 5- Setting up Raspberry pi for ssh and other raspberry pi stuff.
Mat should upload the picture of the diagram that shows all of the functionalities of the Arduino and pi that shows how the tasks are divided (Also email him if you want the username/password for the pi!). We should be able to finish stage 1 quickly (no approximate date scheduled yet) and make this thing FLY!
Tell me anything I missed, something you want to add, or what you want to do and update the wiki page. I also updated the wiki to show this information.
Have a good week, Ahmed Saif
Since we now have the basic stuff running we can start splitting into groups to finish certain tasks to finish stage 1. Stage 1 will just be making the quadcopter fly at a certain altitude and stay there for a while without moving out of position to much. The task that everyone should do (or at least agree on) are:
- Designing a programming interface.
- Downloading mercurial or a software sharing/version checker so we can share our code and do team work effectively.
- Updating the wiki when doing something and making a document on what you did and why
Now here are the tasks for Stage 1 that you can choose from and do in smaller groups or by yourself:
- Learning how to read the gyroscope, accelerometer and controlling the motor speed and maintain stability through programming the Arduino . Probably the most time consuming task.
- Programming the communication between the Raspberry pi and Arduino.
- Designing and creating a power supply circuit with a battery monitor for both the pi and the Arduino.
- Creating the plastic surface that the circuit will be on using the 3D printer.
- Setting up Raspberry pi for ssh and other raspberry pi stuff.
-Ahmed Saif
Quadcopter
- Sending and receiving video signals
- Controlled by laptop, smartphone, game controller
- Basic AI
- ...it's a quadcopter
People Involved
- Ahmed Saif : Working on reading sensors and motor control on the Arduino
- Ayah Almousa
- Matt Ebert
- Daniel Eckerson
- Gautam Das Govardan
- Ian Wisher
Code Repositories:
https://bitbucket.org/garage/quadcopter_arduino
https://bitbucket.org/garage/queue
https://bitbucket.org/garage/quadcopter_pi
A useful link I found : http://diydrones.com/forum/topics/quadcopter-control-function-layers
Saturday 11/9-2013:
I fixed a few errors to the quadcopter code, and added several PID controllers so we should be able to check if it stabilizes when we replace our broken ESC. I also added a landing procedure but I doubt it will work since our Z position isn't accurate, so instead I coded it to slowly rotate till zero and hope it lands softly. Things to work on: getting an accurate Z position so I can make a better landing code and check the PID values when the motors come in.
-Ahmed
Saturday/Sunday 11/2-3/2013:
We were able to test the motors on Saturday. One of the electronic speed control boards was not functioning correctly, so we only had 3 motors spinning at a time, and we will need to wait until new ones and extras come.
Ahmed should upload the code used to control the motors. An explaination of how it works would be nice too.
We determined that each motor will take on the order of 2 A at max speed, by measuring the current with a clamp meter. The RC community forums we visited that explained some of the units in the industry made no sense to us.
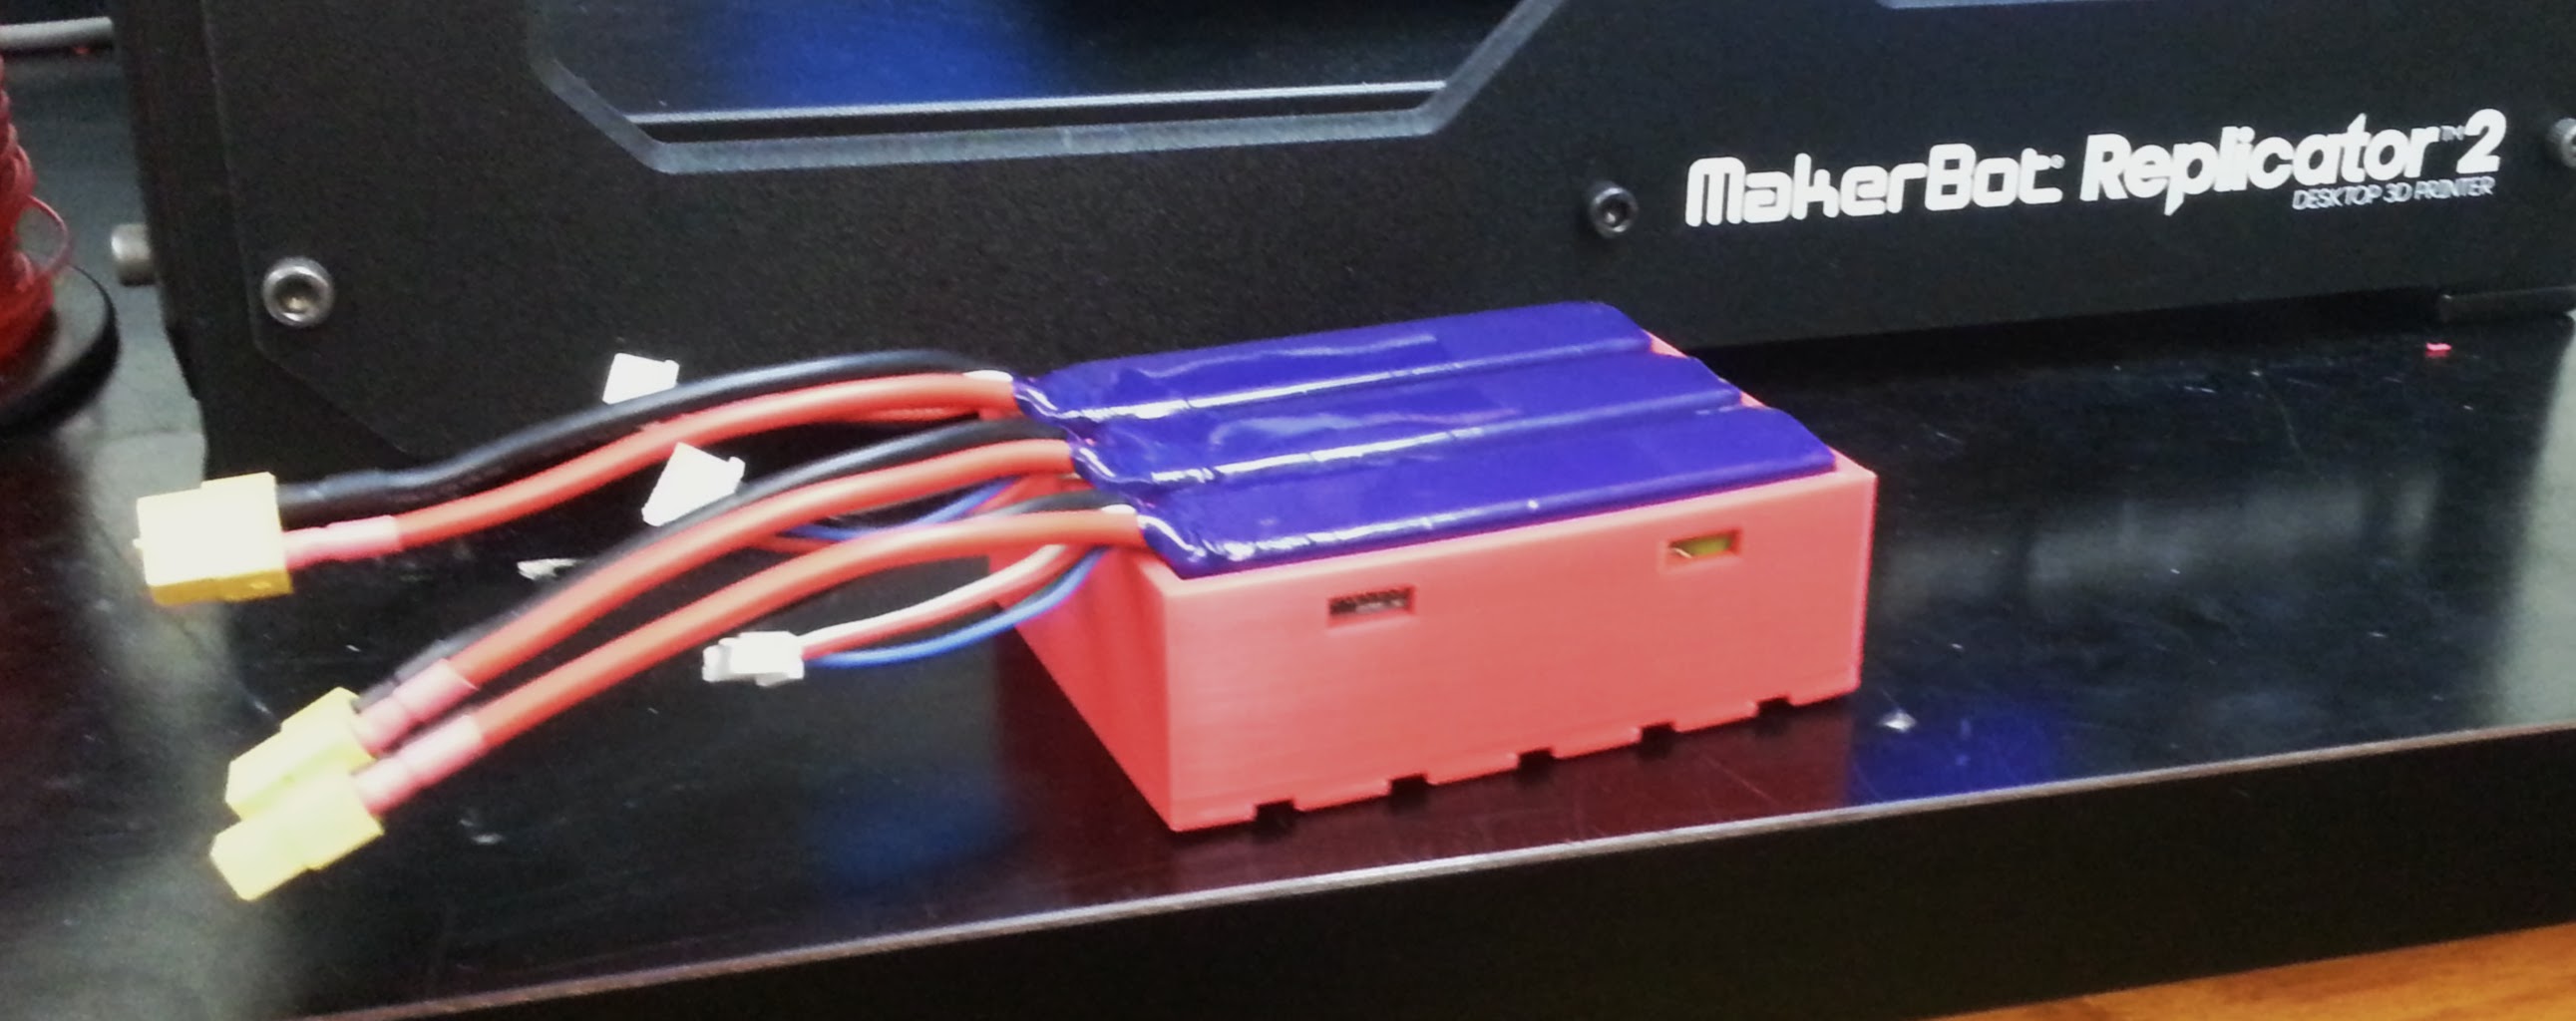
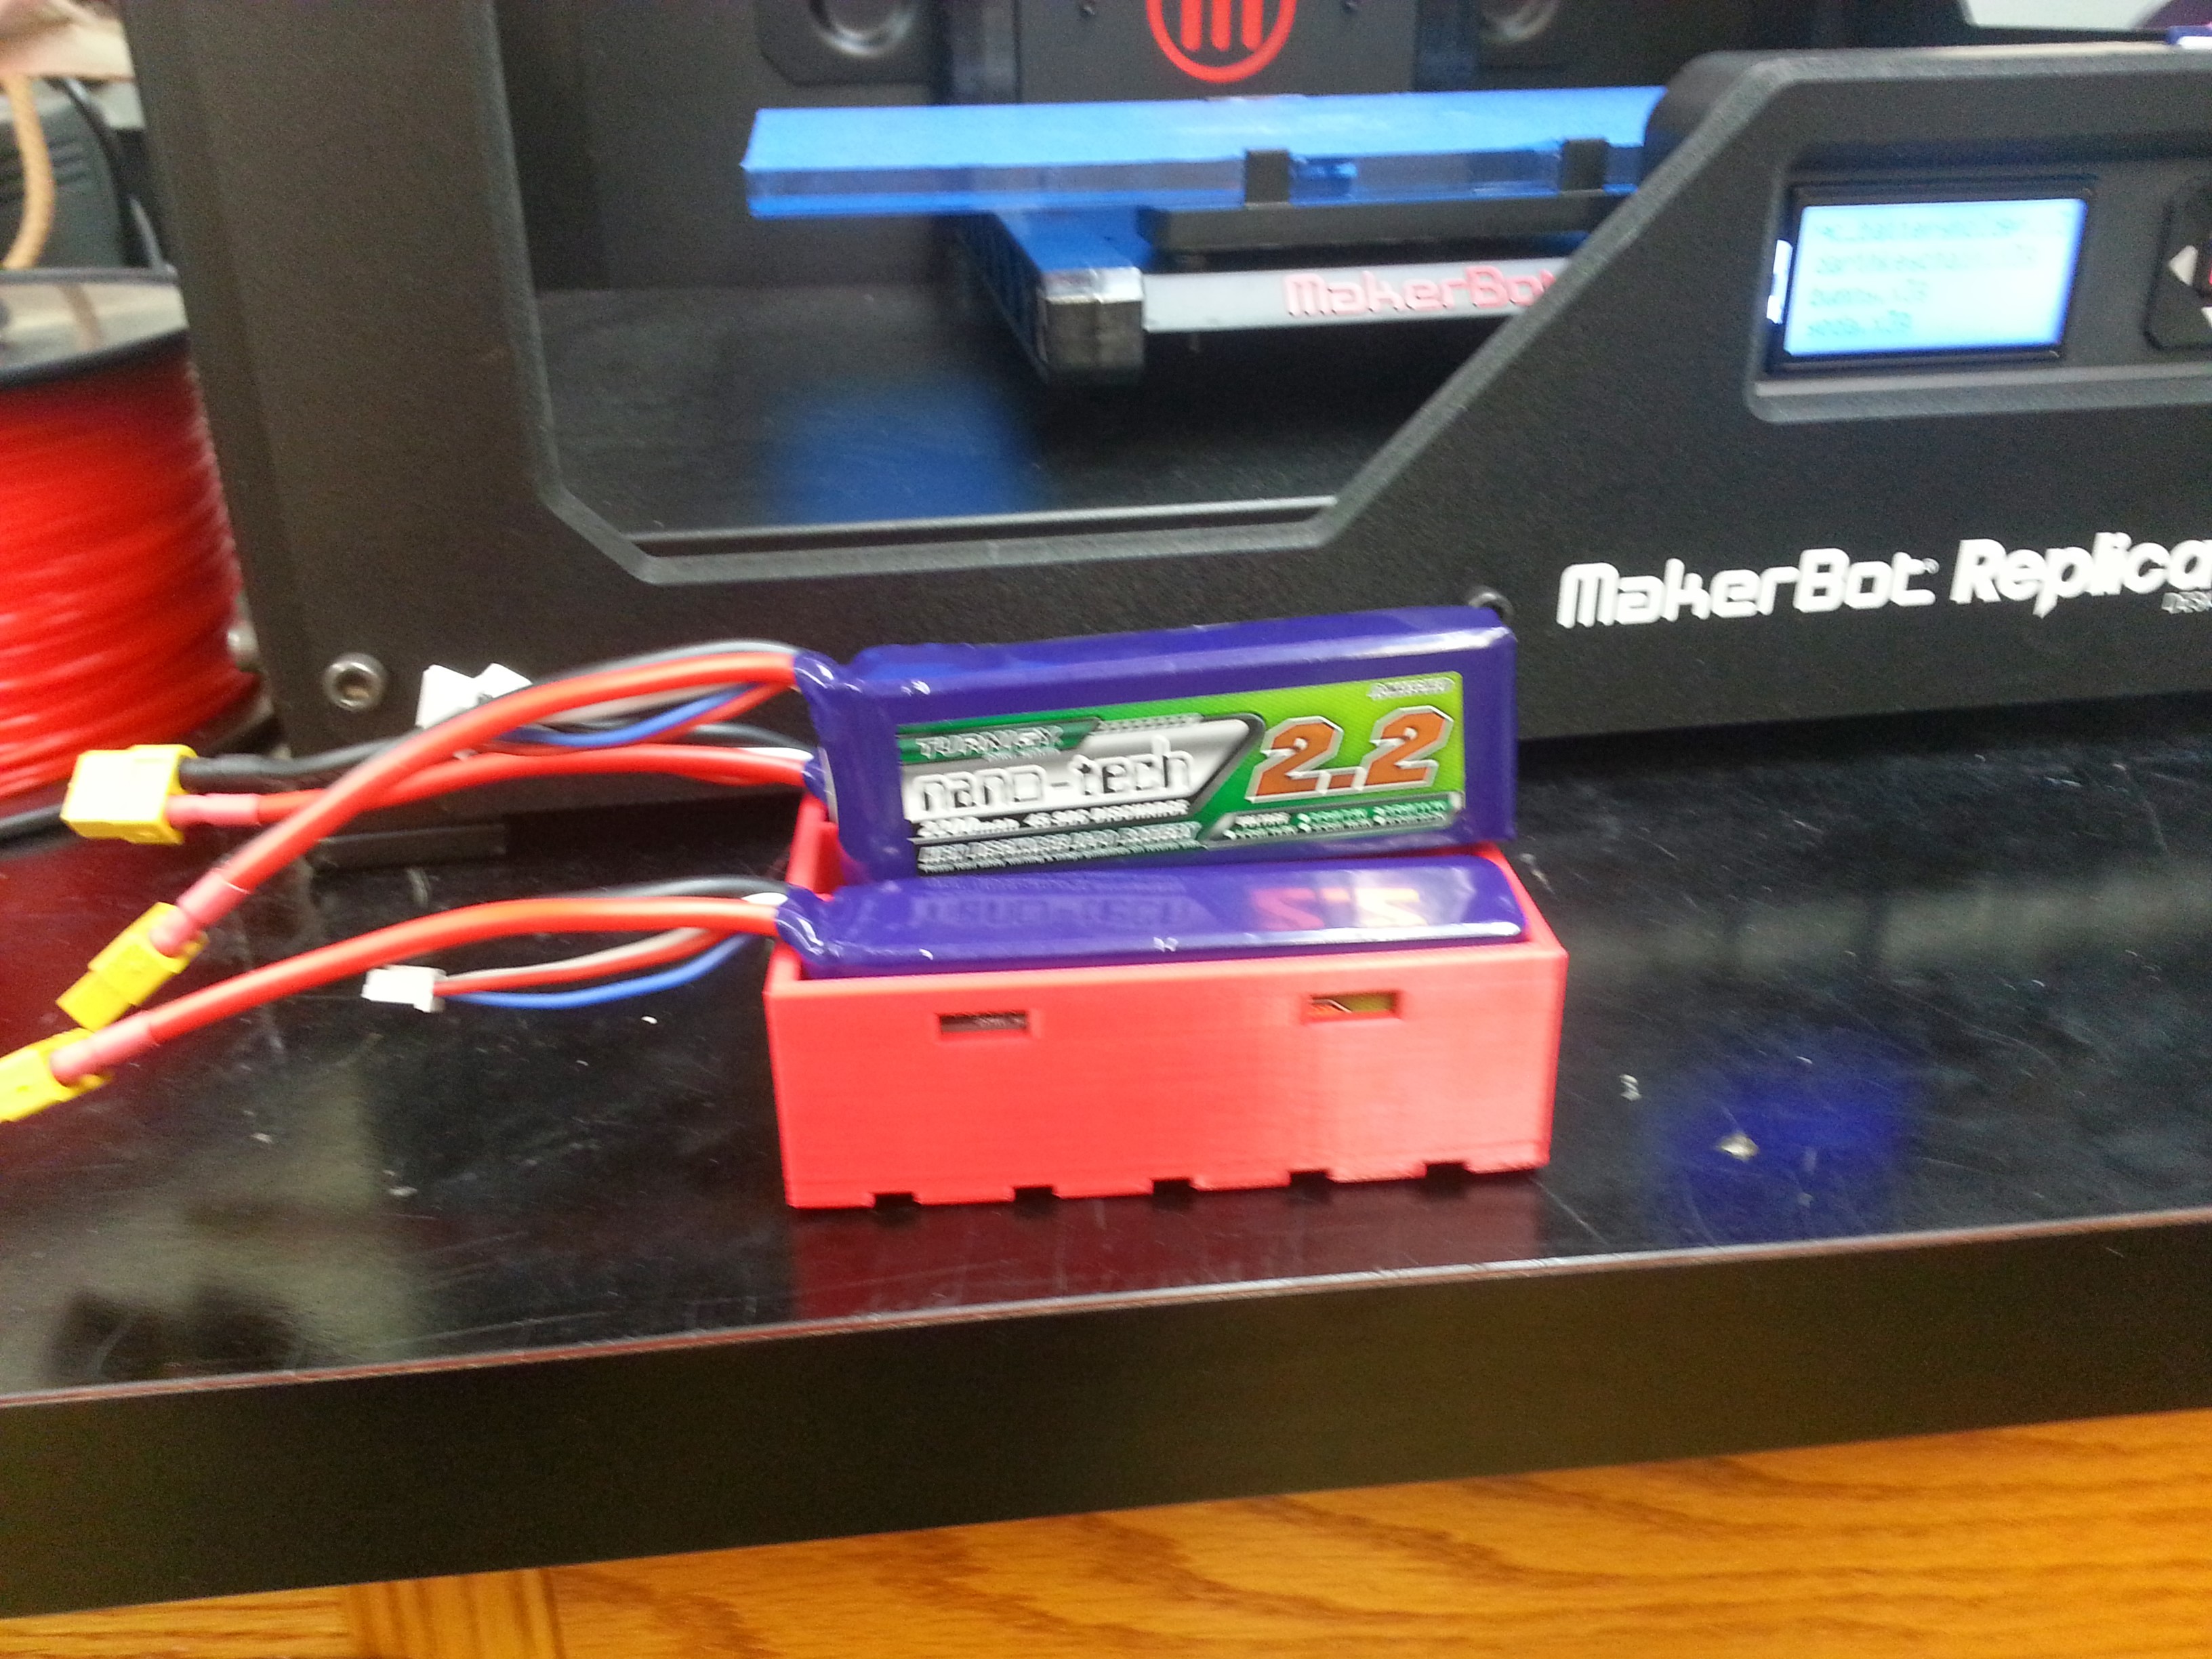
We also printed out a battery caddy that attaches to the bottom of the quadcopter and holds 3 batteries.
-Matt
Tuesday 10/29/2013:
Basic SPI communication is now working between pi and arduino, including storage of commands in a queued ring buffer.
Error checking/avoidance of commincation needs to be implemented, as well as adding specific commands in the protocol.
queued ring buffer, quadcopter_pi, and quadcopter_arduino have all been updated on the garage bitbucket repo.
- Matt
Sunday 10/27/2013:
Continued Work on SPI communication between Arduino and PI. Current copy was added to the Bitbucket garage repo.
- Matt
Layed out the location of the motor control units and soldered on the bullet connectors as well as adding heat shrink. Started a rough layout of electronics components inside the chassis.
-Ian
Saturday 10/5/2013:
We will be using SPI to handle the communication between the pi and the arduino. The pi will be the master and the arduino the slave.
NOTE: that the raspberry pi is a 3.3V device and the Arduino is 5V a level converter will be needed for safe communication between the devices.
Today I have verified that two arduinos can communicate over spi in a master slave pair according to this tutorial.
I also to verified that the rpi can communicate with itself with the MISO and MOSI pins shorted. I am following this tutorial.
-Matt
Installed an actual Arduino program (the last one was a nightly build) and fixed the library issue with the Arduino (well Ian actually did). Still have to speed up the clock on the Arduino I2C so we can get faster measurements. Next week its measurements and building a PID motor control.
-Ahmed
Wednesday 10/2/2013:
To start the arduino IDE on the centos machine open a terminal and type: "arduino &"
I was unable to get the arduino IDE to be able to connect the serial port on the centos machine. I tried adding the user to the lock group and restarting, which removed the error messages, but the serial port in the toolbar is still grayed out.
I installed the pyserial module on the Pi and was able to perform basic serial communication between the pi and arduino after using a different computer to upload the arduino sketch.
I will be working on the communication protocol between the arduino and the Pi.
-Matt
Managed to hook up the gyroscope, accelerometer and compass chip to the arduino and take some measurements. The current speed of obtaining speed from all 3 devices is 250 hz.
But the gyroscope, accelerometer and compass chip can be overclocked to get 4 times the speed and that is what I will try to do next time.
-Ahmed
Saturday 9/28/2013:
Installed the OS for the Raspberry Pi:
hostname: soos
ask me for the login credentials if interested (mebert at wisc dot edu)
I was unable to ping the pi through direct connection to the device. Once we get a switch down here it should be easier to set up for ssh.
Edit: The ip address for the pi is 128.104.160.93 but this is not static and may change.
-Matt
I finished setting up the computer in the back for the Arduino. Need golden banana male/female connectors for the motors.
-Ahmed
Sunday 9/14/2013:
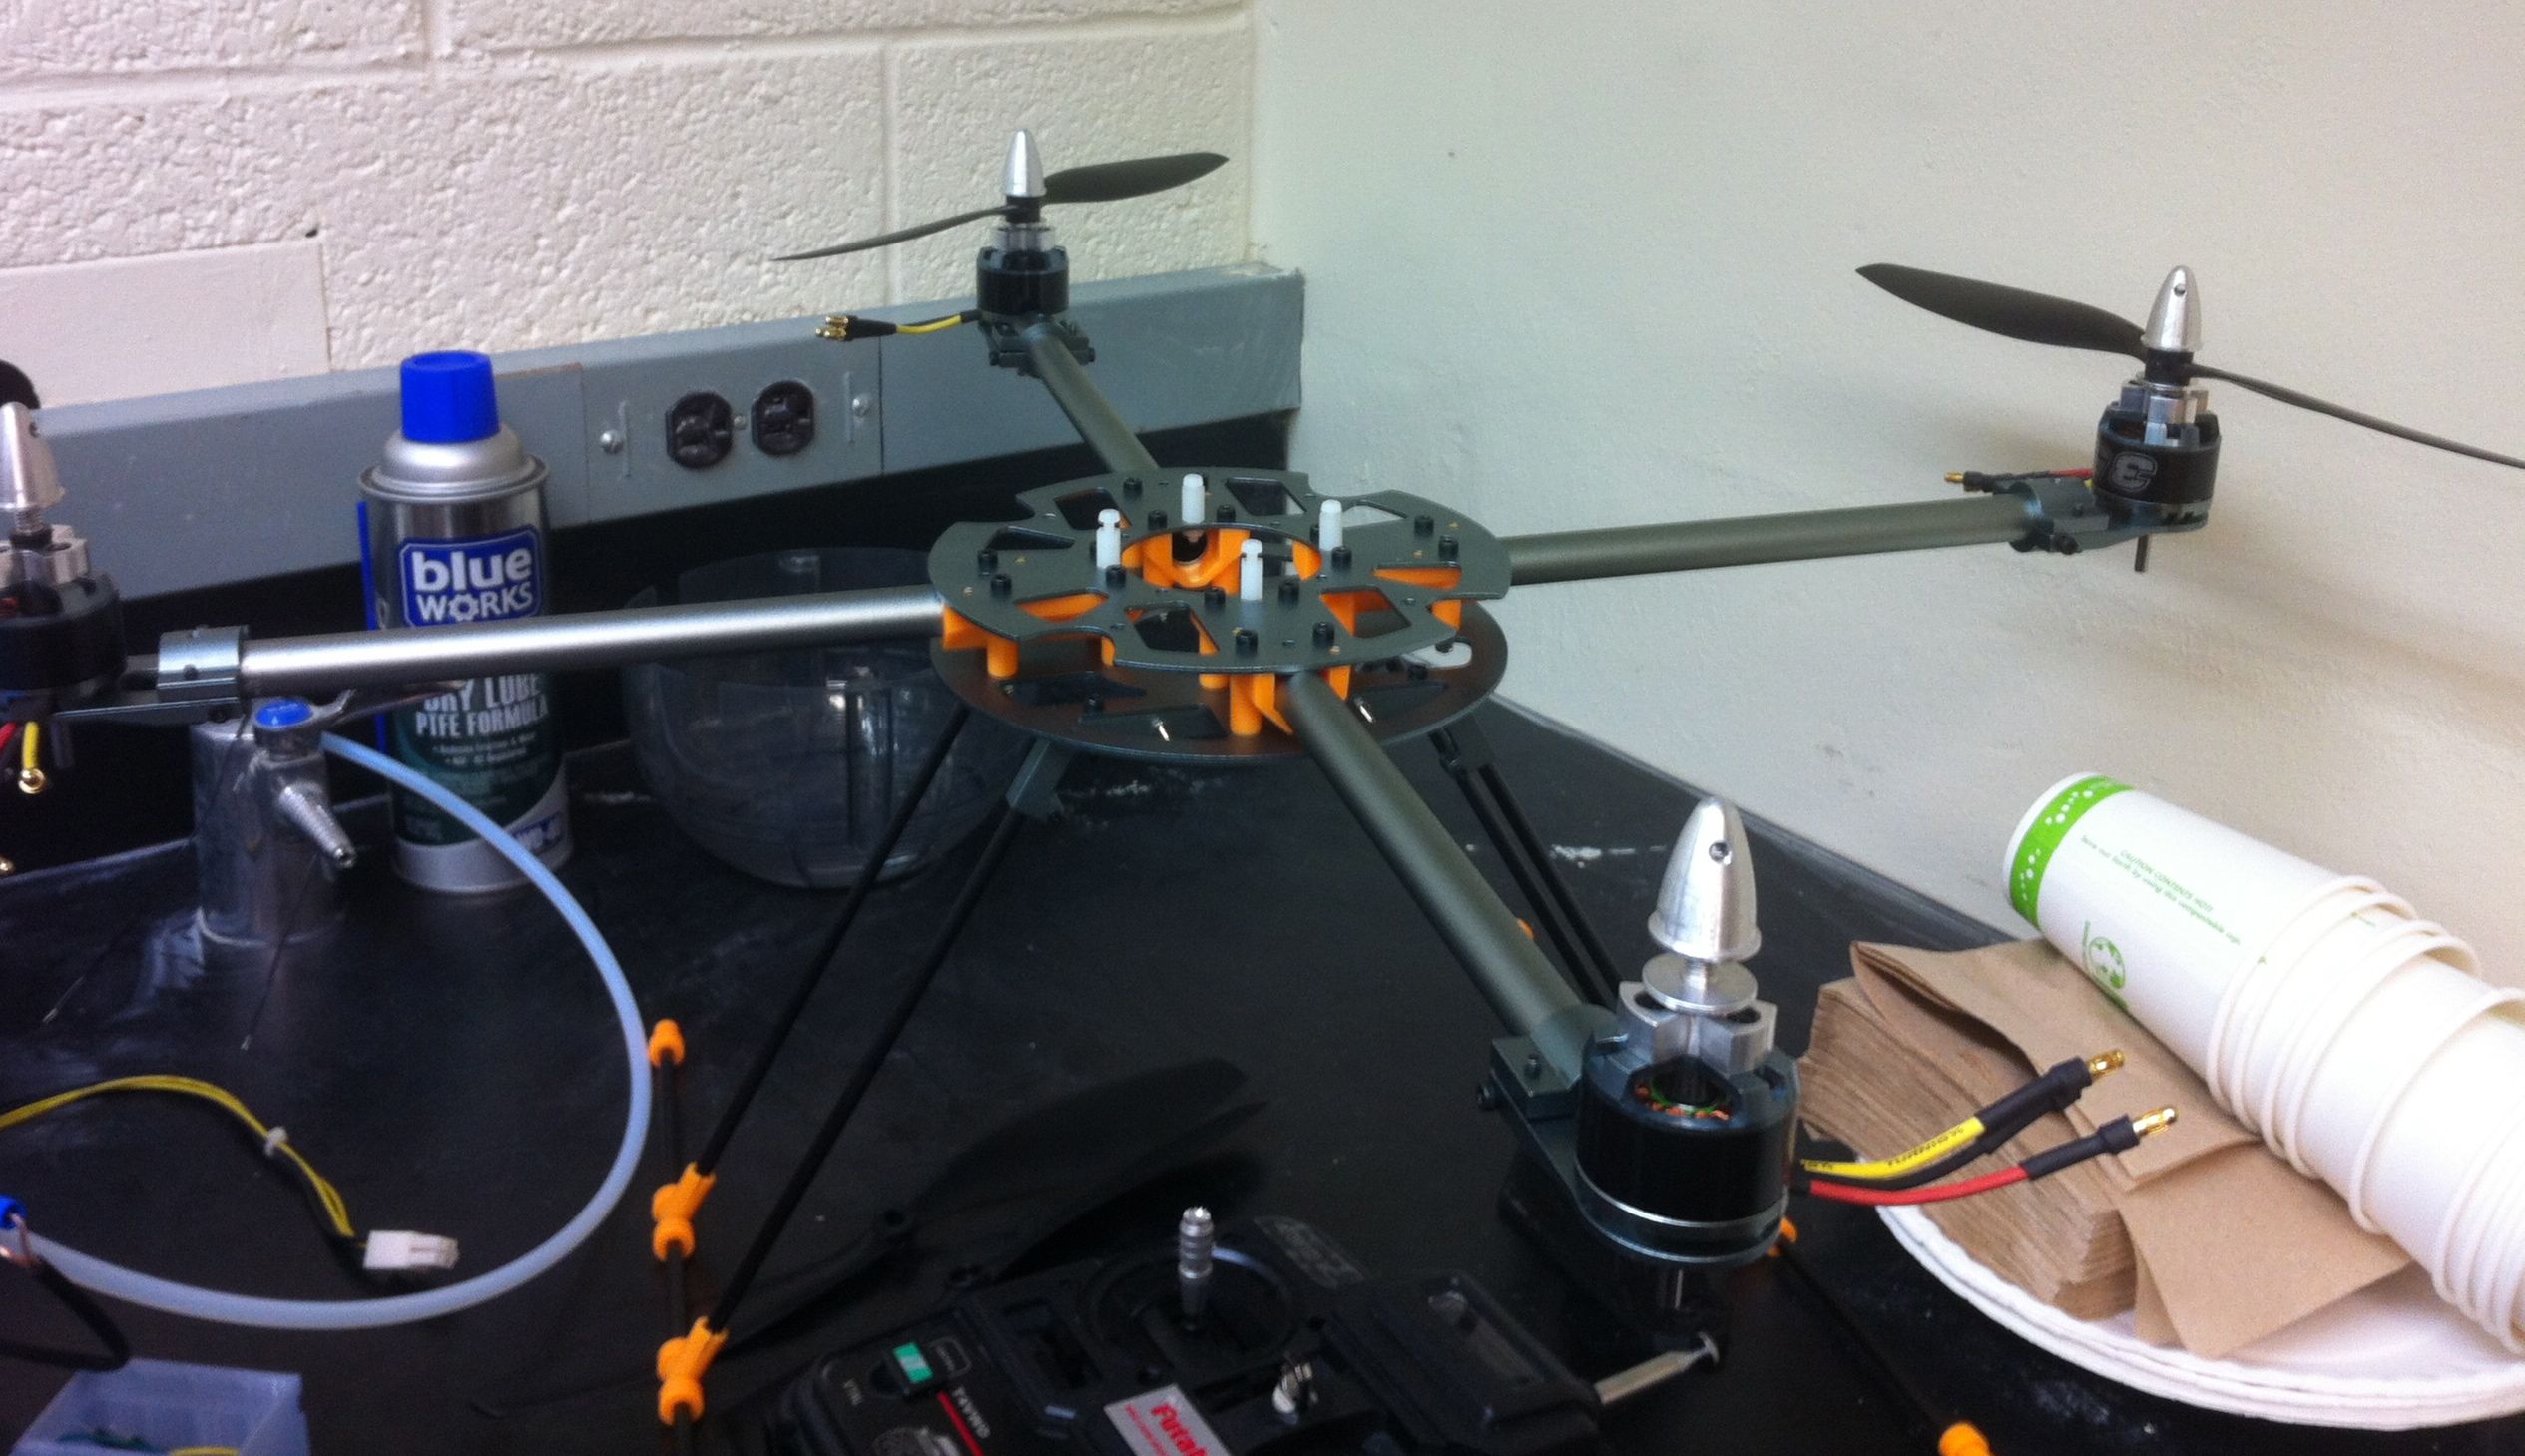
We built the frame of the quadcopter. Here are some of the images we have taken during the assembly:
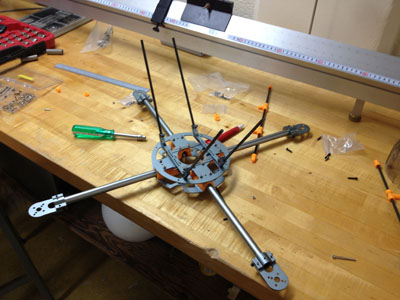
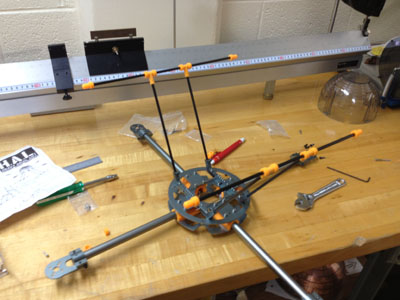
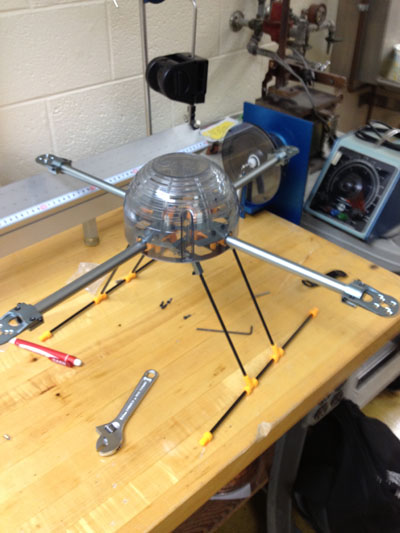
- . Thanks Matt Ebert, Ian Wisher, Gautam Govardan, and Daniel Eckerson for helping out!