Introduction to 3D printing
Quick guide:
Visit Thingiverse (for example) and download a .stl 3D model file onto a Garage PC or to your own machine.
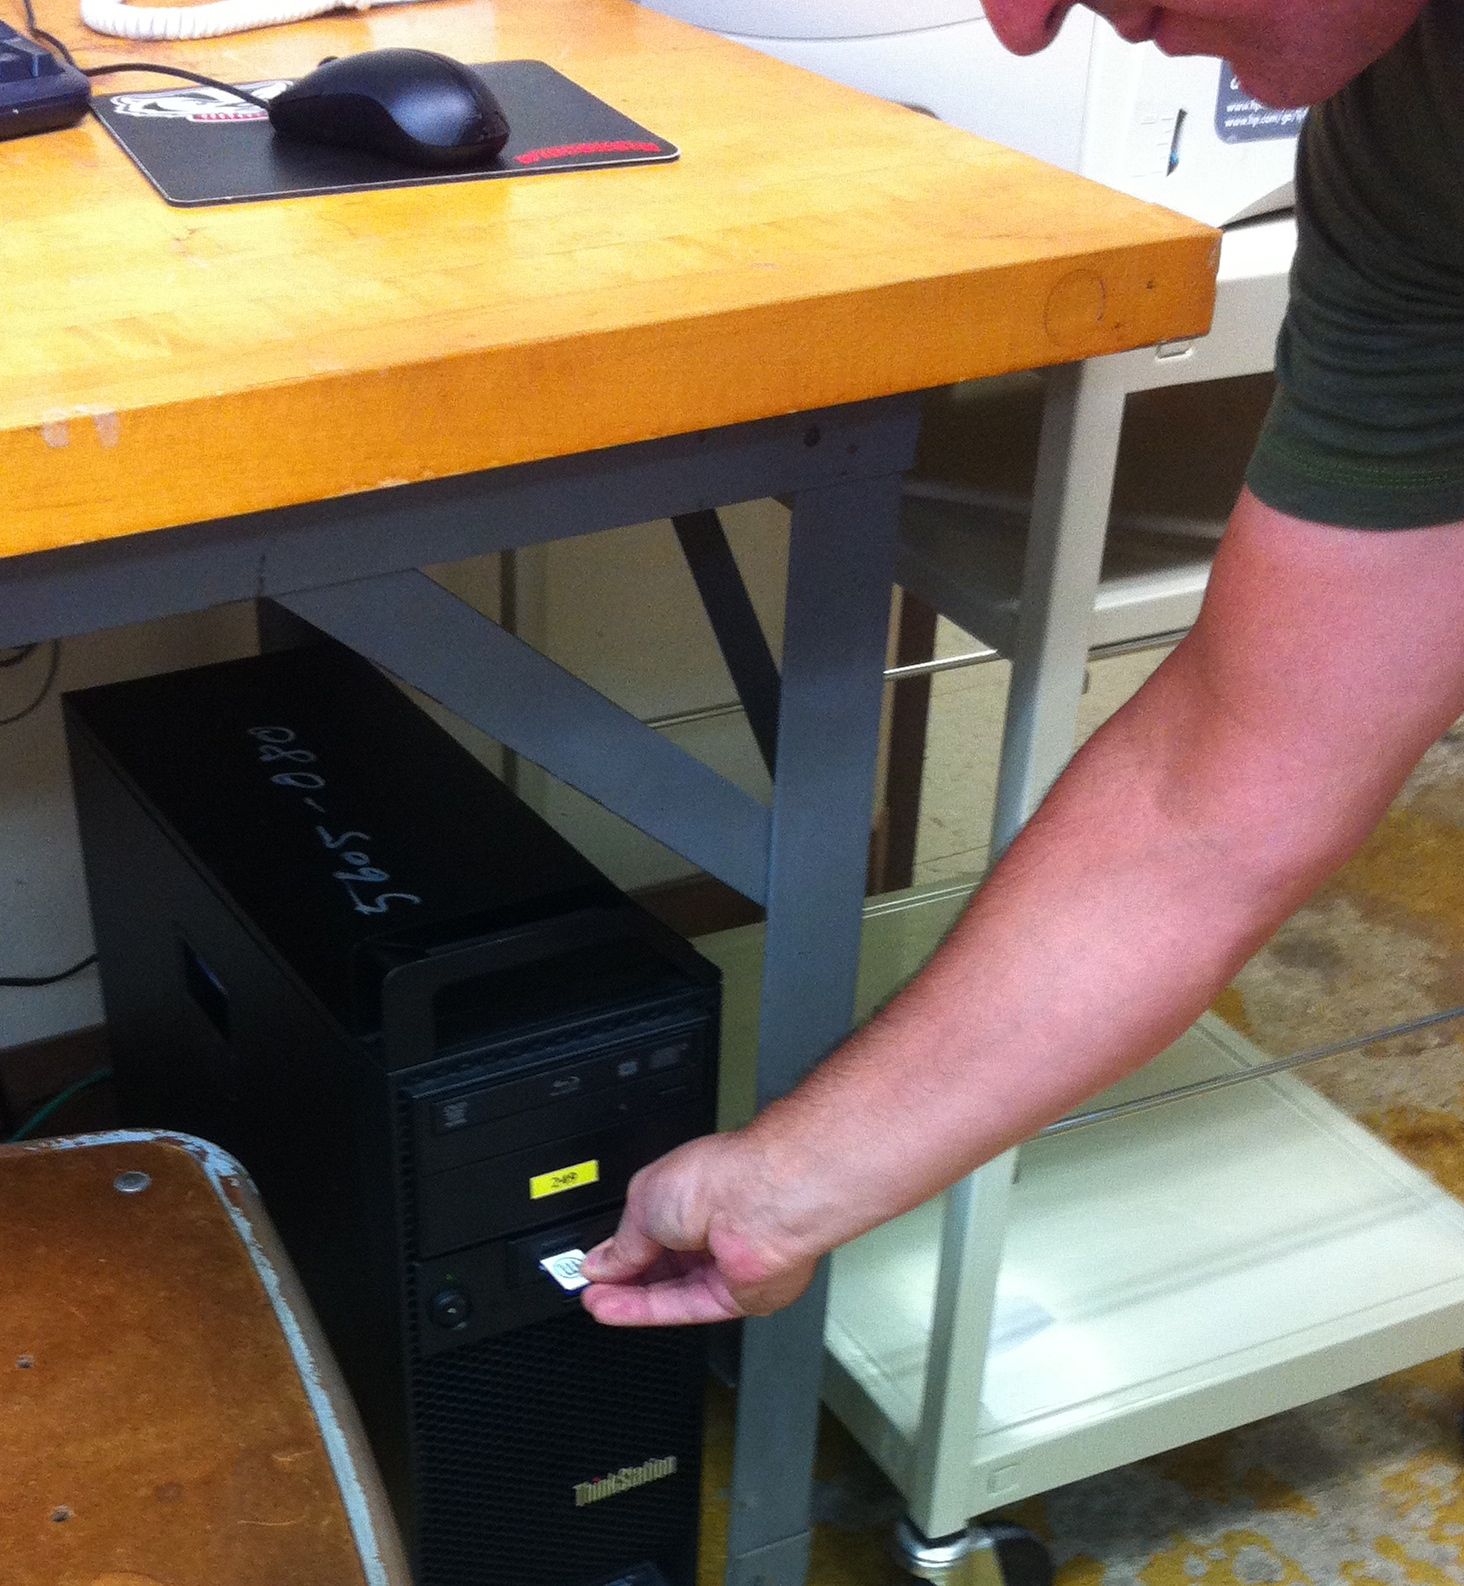
Launch MakerWare and "add" the stl file. (Makerware is installed on the Garage PC. It is freely available for mac or PC so you can do this anywhere.) Arrange your object or objects on the virtual table and choose export to create a file suitable for printing in slices. The high resolution printing will take 3x the time of standard resolution so test first with standard resolution. Save your file to a standard SD card.
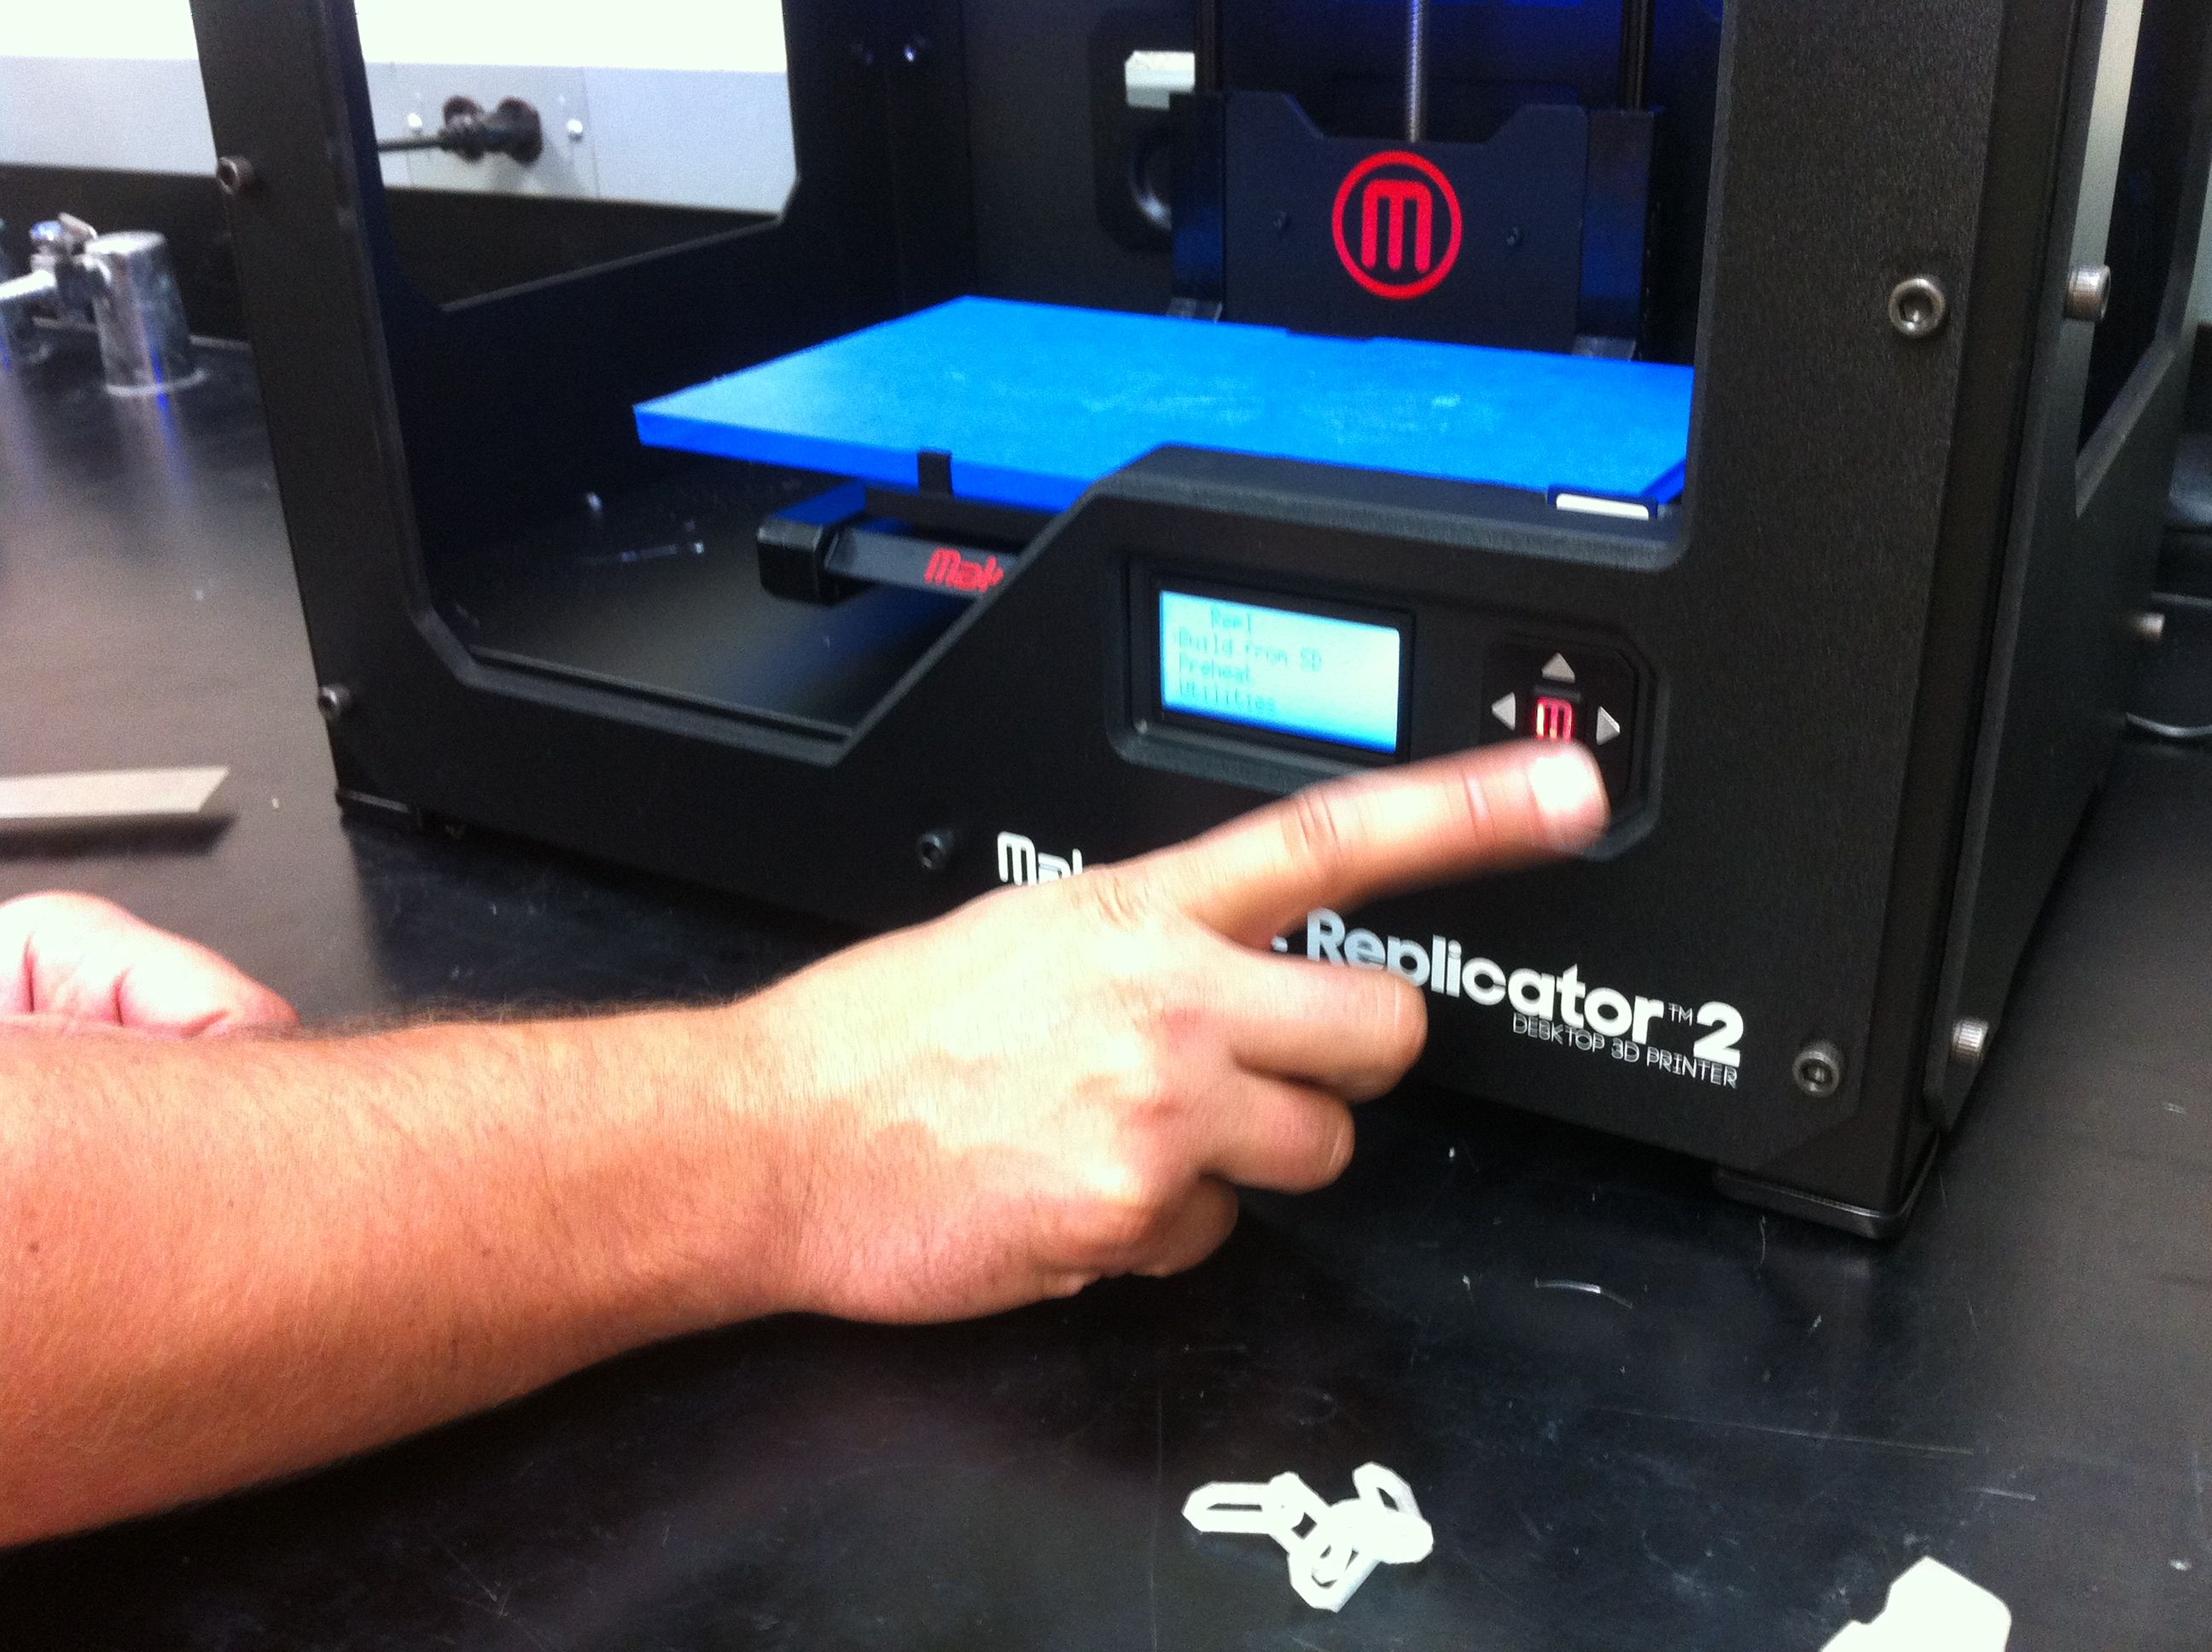
Power on the MakerBot using the switch at the rear. Insert SD card in Makerbot. Use the buttons on the front to select the file and "build." Watch the first mm or so of construction. If the base layer is good, come back in 20 minutes or so for a standard resolution print.
More? http://curriculum.makerbot.com/ http://curriculum.makerbot.com/2011/software.html


