|
Size: 1429
Comment:
|
← Revision 3 as of 2013-07-12 18:18:55 ⇥
Size: 1459
Comment: converted to 1.6 markup
|
| Deletions are marked like this. | Additions are marked like this. |
| Line 2: | Line 2: |
| ||<:30%>[:PiraScheme#WavesSound: Table of Waves and Sound Demonstration]||<:30%>[:WSEquipmentList: List of Waves and Sound Equipment & Supplies]||<:30%>[:Demonstrations:Lecture Demonstrations]|| | ||<:30%>[[PiraScheme#WavesSound| Table of Waves and Sound Demonstration]]||<:30%>[[WSEquipmentList| List of Waves and Sound Equipment & Supplies]]||<:30%>[[Demonstrations|Lecture Demonstrations]]|| |
| Line 9: | Line 9: |
| * '''Cabinet:''' [:WavesSoundCabinet#WavesSoundLt:Waves and Sound (WS)] * '''Bay:''' [:WSCabinetLtBayB2: B2] |
* '''Cabinet:''' [[WavesSoundCabinet#WavesSoundLt|Waves and Sound (WS)]] * '''Bay:''' [[WSCabinetLtBayB2| B2]] |
| Line 13: | Line 13: |
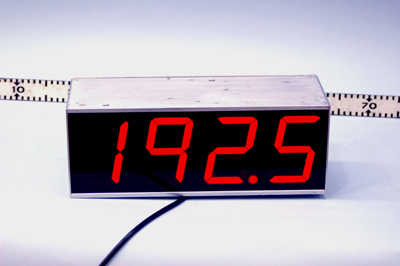
| attachment:Display-400.jpg | {{attachment:Display-400.jpg}} |
| Line 37: | Line 37: |
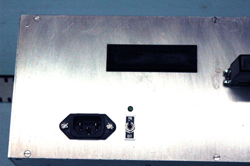
| ||attachment:DisplayWithSwitch-250.jpg||attachment:Cat5Switch-250.jpg||attachment:BackOfUnit05-250.jpg|| ||attachment:BackOfUnit03-250.jpg||attachment:BackOfUnit04-250.jpg|| |
||{{attachment:DisplayWithSwitch-250.jpg}}||{{attachment:Cat5Switch-250.jpg}}||{{attachment:BackOfUnit05-250.jpg}}|| ||{{attachment:BackOfUnit03-250.jpg}}||{{attachment:BackOfUnit04-250.jpg}}|| |
| Line 41: | Line 41: |
| [:Instructional:Home] | [[Instructional|Home]] |
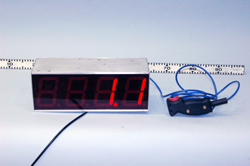
Multi-Purpose Meter, 3A.EQ.100
Location:
Cabinet: Waves and Sound (WS)
Bay: B2
Shelf: 2
Description:
This is a homemade device that measures frequency, time, and counts events.
Important Notes:
- N/A
Setup:
- Connect to power.
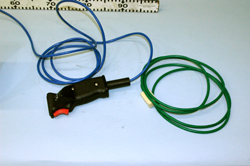
- Connect Cat5 Switch.
- Turn on unit by flipping the on/off switch to the on position.
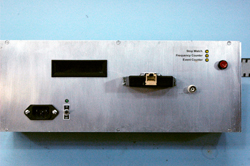
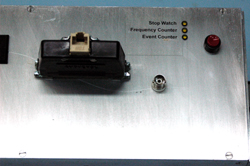
- If measuring frequency or counting events, connect function generator or other source to the back of the unit. The input requires BNC.
- Select function by pushing the red button on the back of the unit until light is on next to desired function. The unit defaults to "stop watch" mode.
- The Cat5 switch has a start/stop trigger and a reset button for the "stop watch" mode.
Cautions, Warnings, or Safety Concerns:
- N/A
|
|
|
|
|
